
Article
Understanding Cooking Oils: Which One to Use and When
A plain guide to cooking oils: smoke points, neutral versus flavorful oils, olive, coconut, vegetable and groundnut oil, plus when to sear, dress or deep-fry, how to store oil and how to reuse it safely.
7 min readby The RecipeCrave Kitchen Team
Walk down any grocery aisle and the oil shelf can feel overwhelming. Olive, coconut, vegetable, groundnut, sunflower, rapeseed, the labels blur together. The good news is that choosing an oil comes down to a few simple ideas: how hot you plan to cook, whether you want the oil to add flavor or stay in the background, and how you plan to store what is left in the bottle. Once those three things click, the shelf stops being confusing and starts being useful.
This guide walks through what smoke point actually means, the difference between neutral and flavorful oils, a quick tour of the four oils most home cooks reach for, and clear rules for when to sear, when to dress and when to deep-fry. We finish with storage and a practical take on reusing oil without ruining your next meal.
What a smoke point really tells you
The smoke point is the temperature at which an oil starts to break down and give off a thin bluish smoke. Past that point the oil begins to taste bitter and burnt, and it stops doing its job well. Every oil has its own smoke point, and that single number is the most useful thing to know before you turn on the heat.
As a rough guide, high heat cooking such as searing, stir-frying and deep-frying wants an oil with a high smoke point, usually above 200 degrees Celsius, which is about 400 degrees Fahrenheit. Gentle cooking, salad dressings and finishing drizzles can use oils with a lower smoke point, because the oil never gets hot enough to break down. Match the oil to the heat and half the battle is won.
One more point worth knowing: the more refined an oil is, the higher its smoke point tends to be, because refining strips out the tiny particles and free fatty acids that burn first. That is why a refined oil handles a screaming hot pan better than an unrefined, cold-pressed one.
Neutral oils versus flavorful oils
Oils fall into two broad camps, and knowing which camp you are reaching for saves a lot of guesswork.
Neutral oils
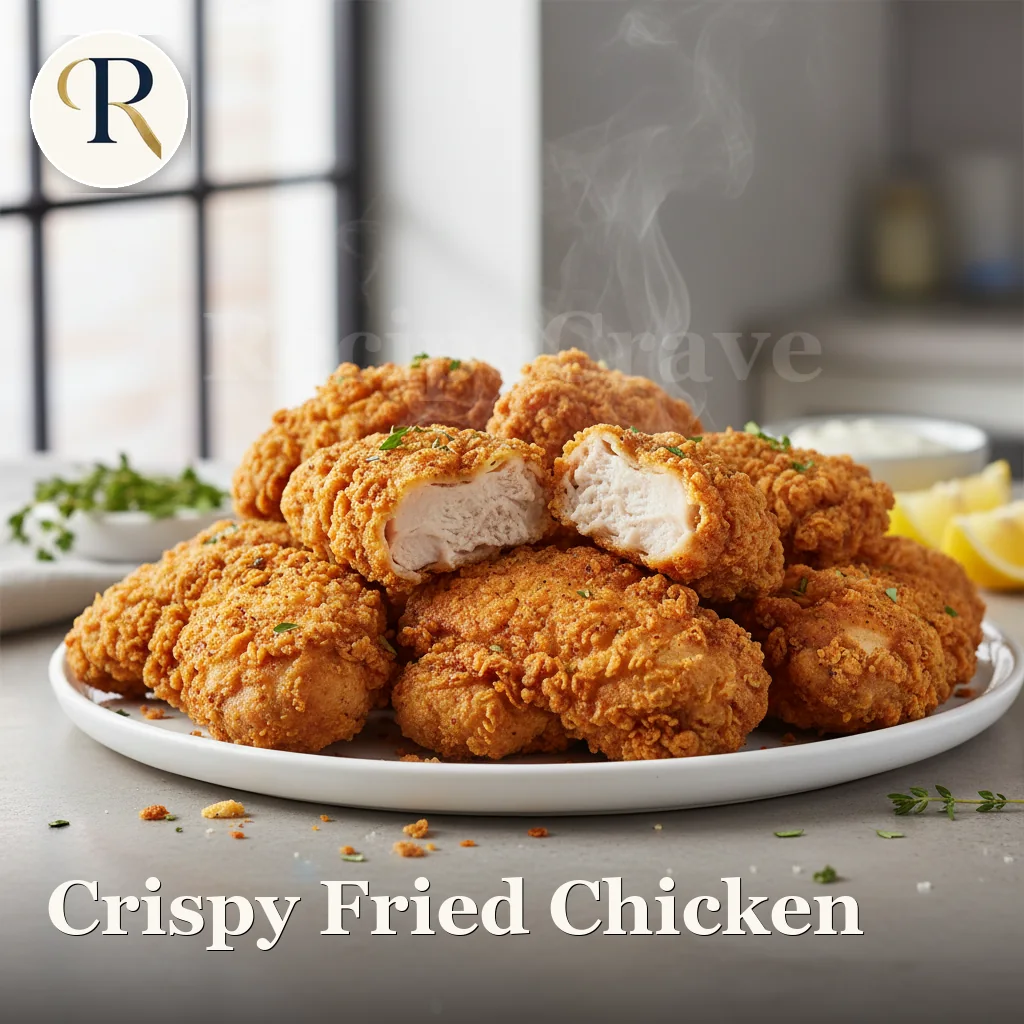
Neutral oils have a mild, almost invisible taste. They let the food be the star, and most have a high smoke point, so they are the workhorses of a busy kitchen. Vegetable oil, groundnut oil, sunflower oil, rapeseed oil and refined light olive oil all sit here. Reach for these when you want a clean crust, a hot pan and no competing flavor, for example when you fry chicken or cook a quick weeknight stir-fry.
Flavorful oils
Flavorful oils carry a strong taste and aroma of their own. Extra virgin olive oil, toasted sesame oil and unrefined coconut oil belong here. Their character is the whole point, so they shine when the oil itself is meant to be tasted: a drizzle over a finished dish, a splash in a dressing, or a small amount stirred through at the end. Many flavorful oils also have a lower smoke point, which is another reason to add them late rather than blast them over high heat.
A quick tour of four everyday oils
Olive oil
Olive oil comes in two useful forms. Extra virgin olive oil is unrefined, green and peppery, with a lower smoke point, so it is at its best raw or over gentle heat: dressings, dips, and a finishing drizzle over pasta or roasted vegetables. Regular or light olive oil is more refined, milder and handles medium heat better, which makes it a fair choice for everyday pan cooking. Use the good extra virgin bottle where you can taste it, and save the refined one for the pan.
Coconut oil
Coconut oil is solid at room temperature and melts as it warms. Unrefined, or virgin, coconut oil carries a clear coconut aroma that suits curries, tropical dishes and some baking. Refined coconut oil is milder and takes higher heat. It is a flavor decision as much as a cooking one, so taste before you commit a whole dish to it.
Vegetable oil
Vegetable oil is usually a blend, often based on soybean or a mix of seeds. It is neutral, affordable and has a high smoke point, which is why it turns up in so many fried and baked recipes. When a recipe just says oil and does not want any particular flavor, vegetable oil is almost always a safe answer.
Groundnut oil
Groundnut oil, also called peanut oil, is a favorite for deep-frying and stir-frying because it stays stable at high heat and has a clean, light taste. It is a staple in a lot of West African and East Asian cooking for exactly that reason. One important caution: it is not suitable for anyone with a peanut allergy, so check before serving it to guests.
When to sear, when to dress, when to deep-fry
Most oil confusion clears up the moment you name the job you are asking the oil to do. Here are the three most common jobs.
Searing and stir-frying
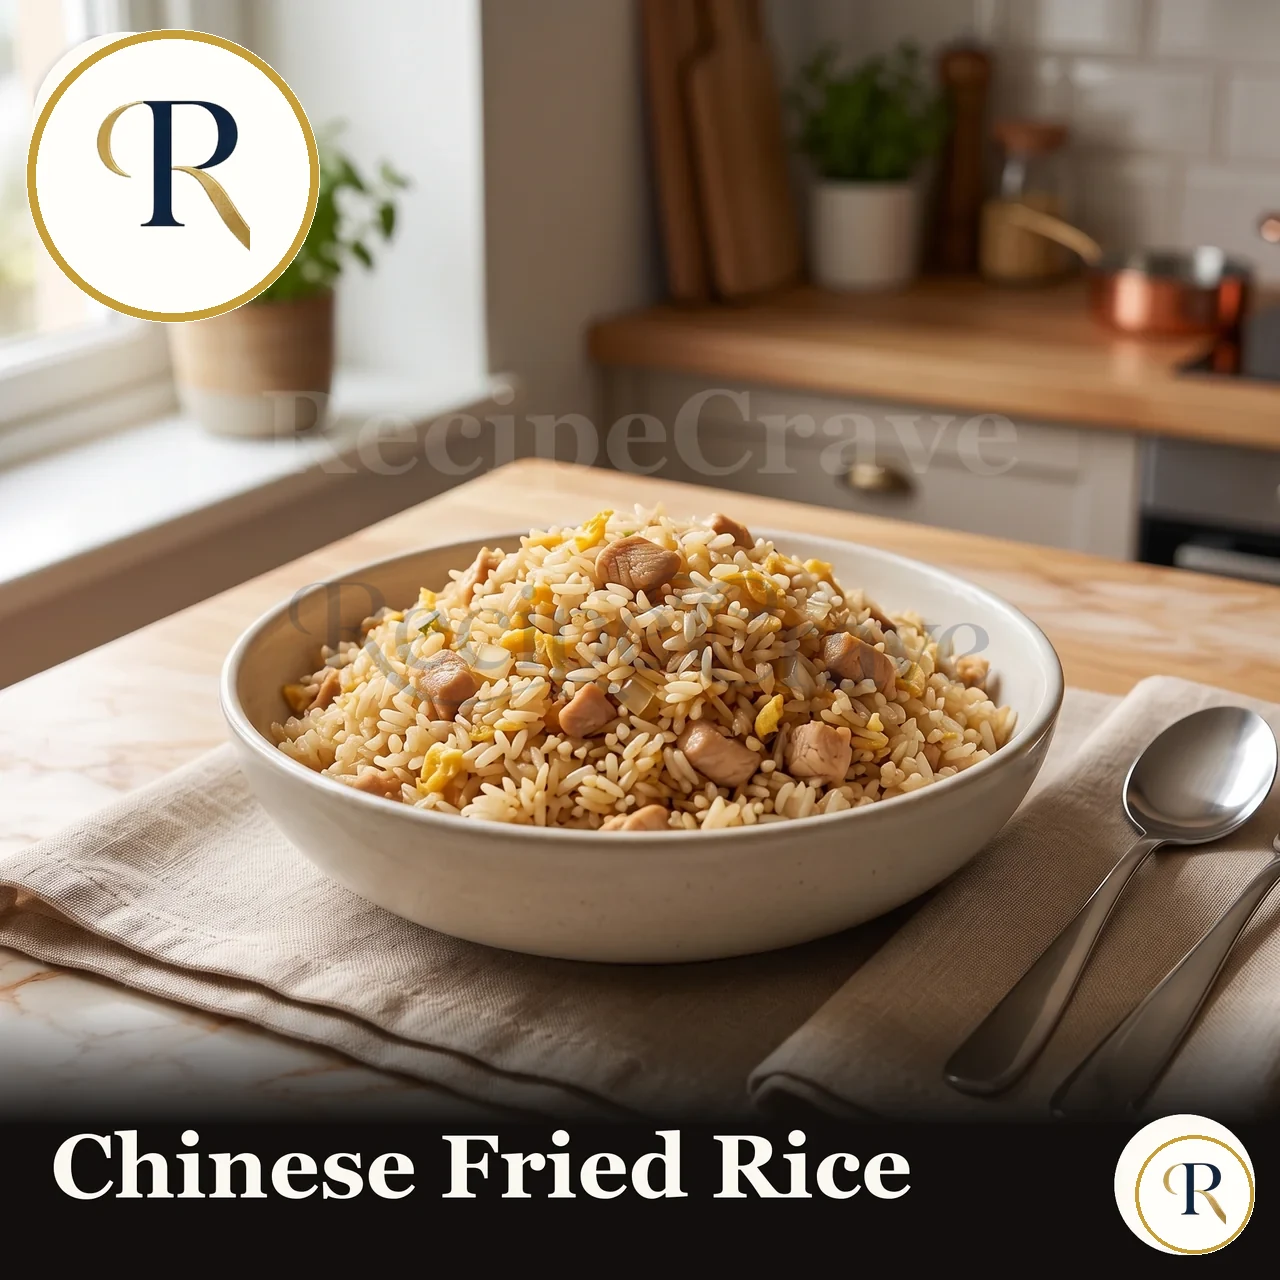
Searing a steak or tossing a stir-fry needs a hot, dry, high heat surface, so use a neutral oil with a high smoke point such as vegetable, groundnut or refined olive oil. Add just enough to coat the pan, wait until it shimmers, then add the food. If the oil is smoking hard, the pan is too hot and the oil is already breaking down, so pull it back.
Dressing and finishing
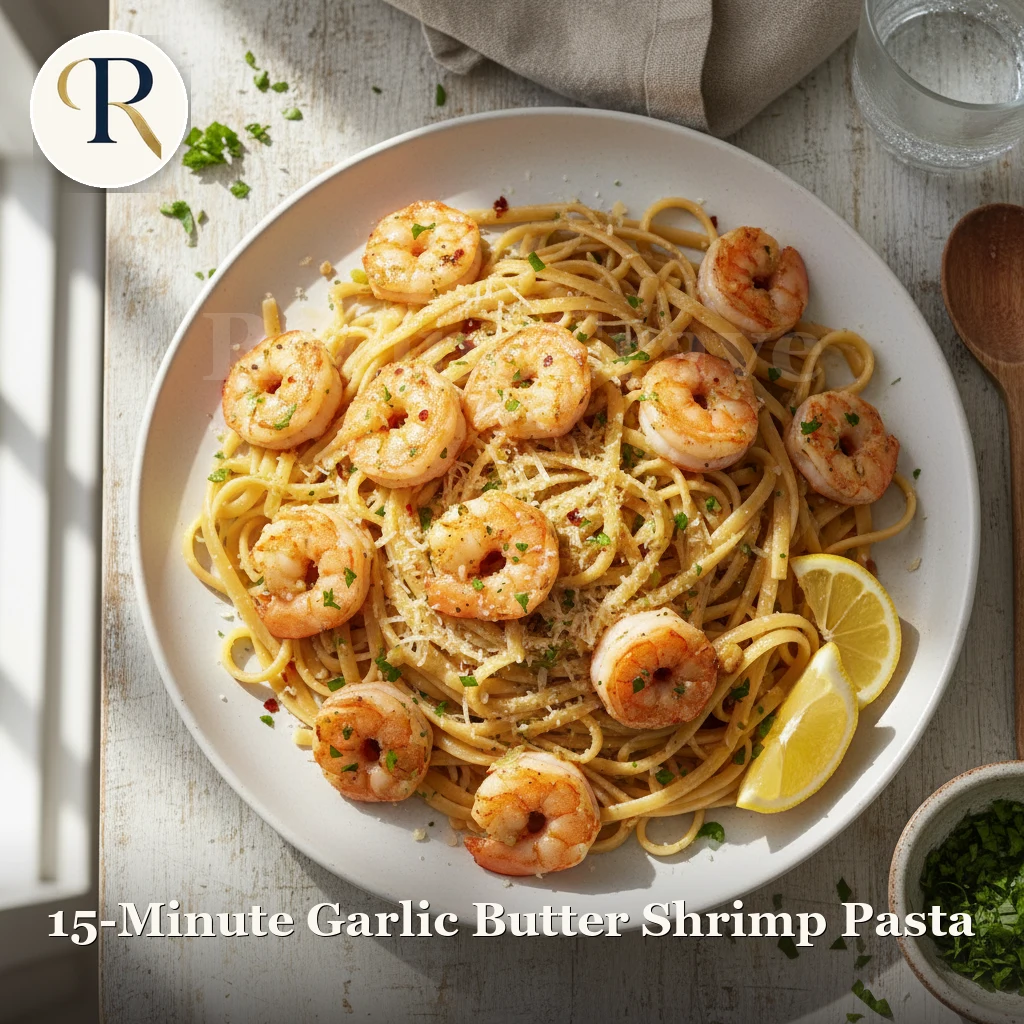
Salad dressings, dips and finishing drizzles are the place for your flavorful oils, because here the oil is never heated and you taste it directly. A good extra virgin olive oil or a few drops of toasted sesame oil does more for a plate than any amount of the same oil cooked into it. Add these at the end, off the heat.
Deep-frying
Deep-frying asks a lot of an oil: high heat held steady for several minutes. Neutral oils with high smoke points win here, groundnut and vegetable oil chief among them. Keep the temperature steady, usually around 175 to 190 degrees Celsius, which is roughly 350 to 375 degrees Fahrenheit, so the food crisps quickly instead of soaking up oil. That steady heat is the difference between a light, crisp crust and a greasy one.
Storing oil so it lasts
Oil is more delicate than it looks. Light, heat and air are the three things that turn it stale, giving it a flat, waxy, crayon-like smell known as rancidity. A few habits keep your bottles fresh:
- Keep oil in a cool, dark cupboard, away from the stove and out of direct sunlight.
- Close the cap tightly after every use to limit contact with air.
- Buy in sizes you will actually finish within a few months, especially for flavorful oils that fade fastest.
- If an oil smells sharp, bitter or like old paint, trust your nose and let it go.
Coconut oil is the exception on temperature, since it turns solid when cold. Store it at room temperature and it will stay soft enough to scoop.
Reusing oil safely
Frying uses a lot of oil, and it is reasonable to reuse it a few times rather than pour it away after one batch. The key is to keep it clean and watch for the signs that it is finished.
- Let the oil cool fully after frying, then strain it through a fine sieve or a coffee filter to remove food bits, which are the first things to burn on the next use.
- Store the strained oil in a clean, sealed container in a cool, dark place.
- Reuse oil for similar foods. Oil that fried fish will carry that flavor into whatever you cook next.
- Throw the oil out once it turns dark, thick or sticky, smells off, or foams and smokes at a lower temperature than before. Each of these is a sign it has broken down.
As a rough rule, most home cooks can reuse frying oil a few times if it still looks and smells clean, but there is no fixed number. When in doubt, start fresh. Never pour used oil down the drain, where it clogs pipes. Let it cool, seal it in a container and put it in the bin, or use a local cooking oil recycling point if one is available.
The short version
Pick a neutral, high smoke point oil for searing, stir-frying and deep-frying. Save your flavorful oils for dressings and finishing, where you can actually taste them. Store every bottle cool and dark, keep the cap closed, and trust your nose. Reuse frying oil only while it stays clean, and let it go the moment it turns dark or smells off. Match the oil to the job and the rest falls into place.
This article is for general information only and is not medical or dietary advice. Individual needs vary, and if you have questions about fats and oils in your diet, or a food allergy such as peanut, please speak with a qualified healthcare professional.
About the author. The RecipeCrave editorial team, cooks and writers sharing practical, tested home-cooking guidance.
Keep reading
A Beginner's Guide to Grilling Fish, Chicken, and Steak
Grilling looks intimidating from the outside, but almost all of it comes down to a few habits: build heat zones, oil a hot grate, flip once, and learn doneness by feel and temperature. Here is the beginner version, step by step.
Fermenting at Home for Beginners: Yogurt, Pickles, and More
Fermenting at home is easier than it looks. Here is how simple fermentation works, two beginner projects to start with, the small kit you need, and the safety signs that tell a good batch from a bad one.
How to Cook Perfect Pasta (and Fix the Common Mistakes)
Great pasta is not about a fancy sauce. It comes down to a handful of simple habits: enough water, proper salt, a taste test for al dente, a cup of saved cooking water, and a sauce finished in the pan rather than poured over the top.