
Article
A Beginner's Guide to Grilling Fish, Chicken, and Steak
A plain, practical guide to grilling fish, chicken, and steak at home. Heat zones, oiling the grate, when to flip, resting meat, doneness by feel and temperature, and how to dodge sticking and flare-ups.
8 min readby The RecipeCrave Kitchen Team
Most grilling mistakes are not really about the food. They are about heat you cannot control, a grate the food sticks to, and flipping too early out of nerves. Sort out those three things and fish, chicken, and steak all get much easier. This is a beginner-friendly walk through the habits that matter, written so your first few cookouts go well instead of ending in a scramble.
None of it needs fancy gear. A basic charcoal or gas grill, a pair of tongs, a fish spatula, and an instant-read thermometer will carry you a long way.
Start by building heat zones
The single most useful move for a beginner is to set up two zones of heat instead of one even blast. On a charcoal grill, bank the lit coals to one side so the other side stays cooler. On a gas grill, run one or two burners on high and leave the rest on low or off.
Now you have a hot direct side for searing and color, and a cooler indirect side for gentle cooking and safety. If a steak is browning too fast, or chicken is charring before it is cooked through, you slide it to the cool side and let it finish without burning. This one setup prevents most of the panic moments at the grill.
Give the grill time to preheat, usually 10 to 15 minutes with the lid down, so the grates get properly hot. A hot grate is what sears food and helps it release cleanly later.
Clean and oil the grate
Food sticks to a dirty, cool, or dry grate. So do three quick things before anything goes on. First, heat the grate up. Second, scrape it clean with a grill brush or a tight ball of foil held in tongs. Third, oil it.
To oil the grate, fold a paper towel into a small pad, dip it in a neutral high-heat oil (like canola or grapeseed), grip it with tongs, and wipe it along the hot bars a few times. You want a light film, not a puddle. Oiling a hot grate right before you cook gives you the best chance of a clean release. It also helps to oil the food itself lightly rather than drowning it, which keeps flare-ups down.
Grilling fish without losing half of it to the grate
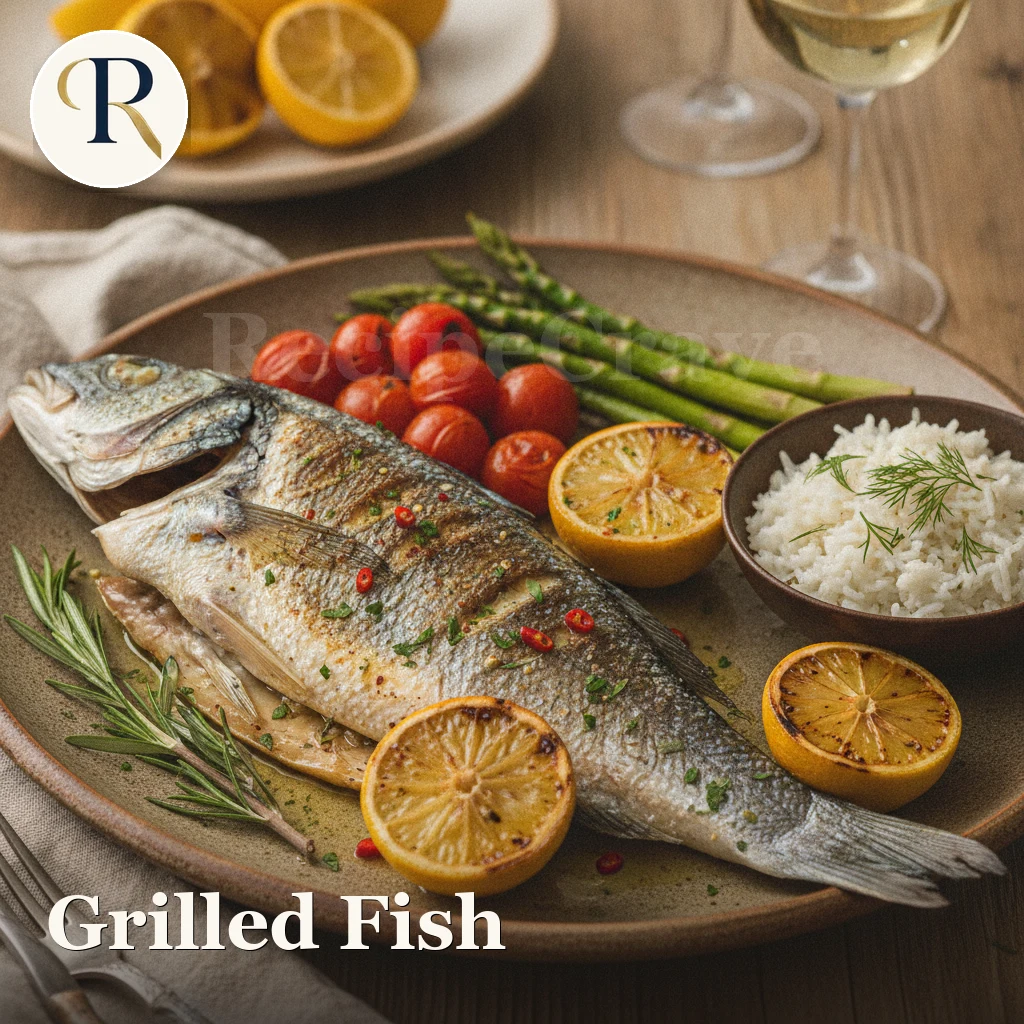
Fish has a reputation for being difficult, and it is only difficult when the grate is not ready. Pat the fish dry, brush it lightly with oil, and season it just before it goes on. Moisture on the surface is the enemy of a good sear, so dry fish behaves far better.
Lay firmer fish like salmon, tuna, or swordfish directly over the hot side. Skin-on fillets do best placed skin side down first, because the skin protects the flesh and crisps into a natural handle. Then leave it alone. Fish will stick hard at first and then release on its own once a crust forms. If you try to lift it and it fights you, give it another 30 to 60 seconds and test again.
Delicate fillets like tilapia or cod are more forgiving in a grill basket or on a piece of foil, which saves you from turning fragile flesh over open bars. Most fillets need only a few minutes per side. Fish is done when it turns opaque and flakes with gentle pressure, roughly 125 to 130 degrees Fahrenheit at the thickest point for something like salmon that you want moist.
Grilling chicken all the way through
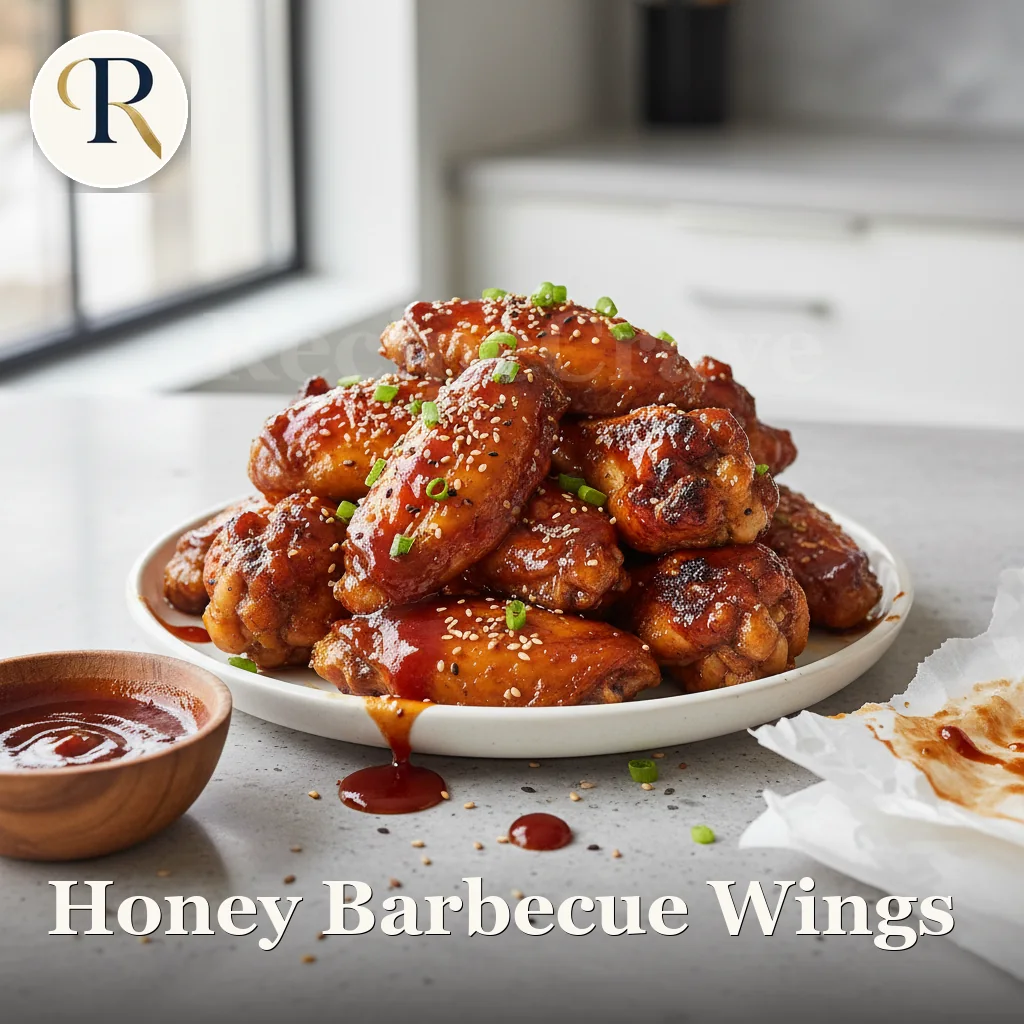
Chicken is where heat zones really earn their keep, because you have two goals that pull against each other: a browned outside and a fully cooked inside. Boneless breasts and thighs cook fast, so a quick sear on the hot side followed by a finish on the cooler side works well. Bone-in pieces and wings take longer, so start them over indirect heat, let them cook mostly through, then move them to the hot side to crisp and color at the end.
If you are saucing chicken, wait. Sugary barbecue glazes burn quickly over direct flame. Brush the sauce on in the last few minutes, ideally over the cooler zone, so it sets into a sticky coat instead of turning black and bitter.
Do not guess with chicken. Cook it to an internal temperature of 165 degrees Fahrenheit measured in the thickest part, away from the bone. Dark meat is actually more relaxed to cook because it stays juicy even slightly past that mark, which makes thighs a friendly choice for beginners.
Grilling steak
Steak is the one people worry about most and it is honestly one of the simpler things to grill, because you are cooking to your own preference rather than a strict safety number. Take the steak out of the fridge 20 to 30 minutes ahead so it is not fridge cold in the center. Dry the surface well, then season generously with salt and pepper right before it hits the grate.
Lay it over the hot side and let it build a deep brown crust before you touch it. That crust is flavor, and it also forms the clean release you want. Sear one side, flip once, sear the other, and if the outside is done before the inside reaches your target, move it to the cooler zone to coast up gently.
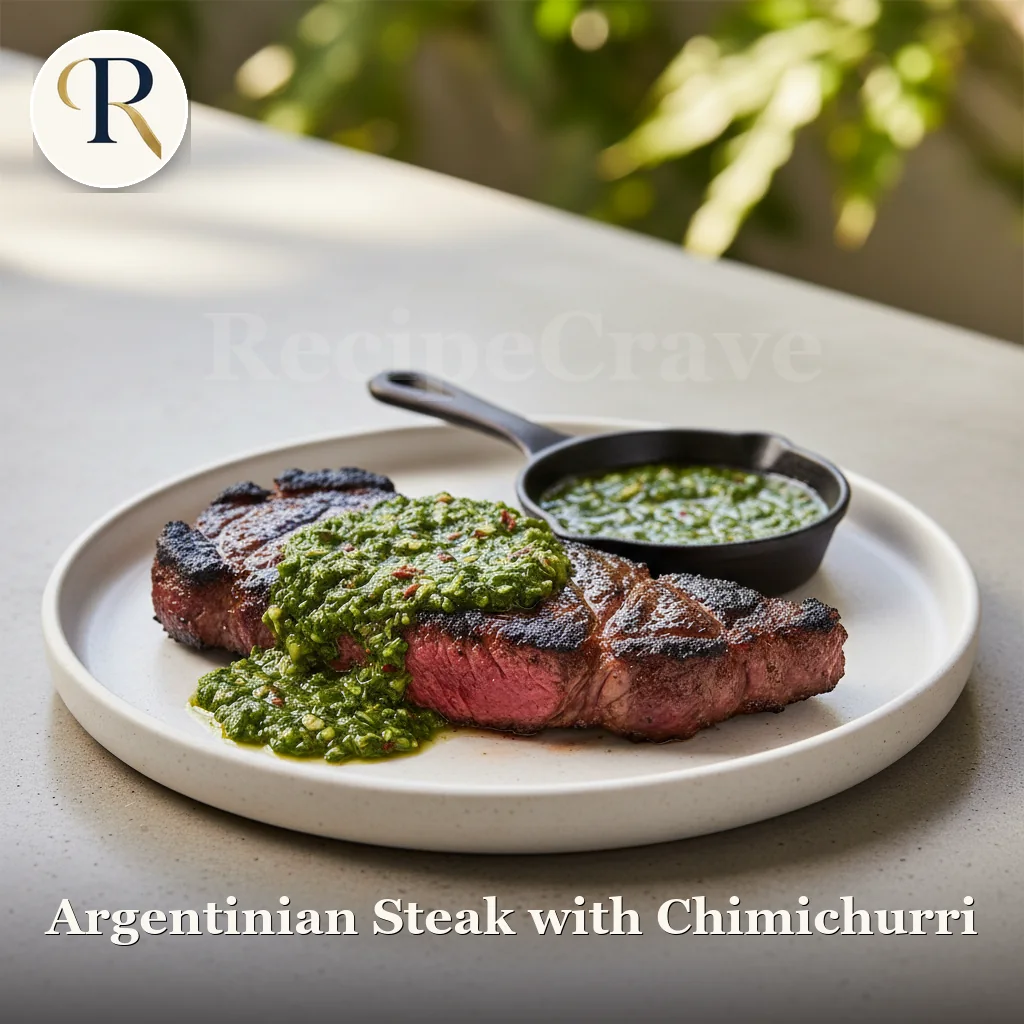
Thick steaks (over an inch and a half) benefit from the reverse of that: start them on the cooler side to bring the interior up slowly, then finish with a hard sear on the hot side. A brushed-on herb sauce afterward, like the chimichurri on the steak in the photo above, adds brightness without any extra cooking risk.
When to flip
Beginners flip too early and too often, usually because the food seems stuck. Here is the reliable rule: well-seared food releases itself. When a steak, a chicken piece, or a fish fillet is ready to turn, it will lift cleanly off the grate with light pressure. If it clings, it needs more time.
For most grilling, one flip is plenty. Let the first side develop a real crust, turn it once, and cook the second side. Constant flipping keeps either side from browning and just slows everything down. The exception is thin or small items where a couple of turns help them cook evenly, but even then, patience beats fidgeting.
Doneness by feel and by temperature
Two tools tell you when food is done: your finger and a thermometer. The finger test is quick but rough. Press the meat. Rare feels soft and squishy, medium feels springy with some resistance, and well done feels firm. Many cooks compare it to pressing the fleshy pad at the base of the thumb as you touch different fingers to it. It is a useful habit, but it takes practice to trust.
An instant-read thermometer removes the guesswork, and for a beginner it is the best few dollars you can spend. Insert it into the thickest part, not touching bone. Here are the targets to aim for, remembering that food keeps cooking a little after it comes off the heat.
FoodPull it off atNotesSteak, rare120 to 125 FCool red centerSteak, medium rare125 to 130 FThe popular targetSteak, medium135 to 140 FWarm pink centerChicken (all cuts)165 FNon-negotiable for safetySalmon, moist125 to 130 FOpaque and flakingPull steak a few degrees before your final target, because resting will carry it up. Chicken should reach a true 165 degrees Fahrenheit for safety, so measure it rather than judging by color, since color alone can fool you.
Rest the meat before you cut it
When meat cooks, its juices get driven toward the center. Cutting into it straight off the grill lets those juices spill onto the board instead of staying in the meat. Resting gives them time to settle back through.
Let steak and chicken pieces rest for 5 to 10 minutes under a loose tent of foil. Thick cuts want the longer end of that range, thin cuts the shorter. Fish needs very little rest, just a minute or two. It is a small pause that makes a real difference in how juicy the first bite is, and it also gives you a moment to plate everything calmly.
Avoiding sticking and flare-ups
Two problems trip up almost every beginner, and both have simple fixes.
- Sticking comes from a cool grate, a dirty grate, wet food, or impatience. Fix it by preheating fully, scraping clean, oiling the hot bars, drying the food, and waiting for the natural release before you flip.
- Flare-ups happen when fat and oil drip onto flame and ignite. Trim excess fat, go easy on oil and oily marinades, and keep that cooler zone open as an escape hatch. If flames jump up, move the food to the indirect side and let them die down rather than blasting them with water, which just scatters ash and grease.
Keeping the lid handy also helps. Closing it briefly cuts off oxygen and calms a flare-up fast. A spray bottle of water is a last resort for stubborn charcoal flames, but for most grease flares, simply relocating the food is enough.
A simple plan for your first cookout
Put it together and a beginner cookout looks like this. Preheat with the lid down and build your two zones. Scrape and oil the grate. Dry and season the food just before it goes on. Sear over direct heat for color, then move to indirect heat to finish safely. Flip once, when the food releases on its own. Check temperature with a thermometer, pull a little early, and rest before slicing.
Start with something forgiving, like chicken thighs or a salmon fillet, before you move on to a pricey steak. Each cook teaches your hands what the grate feels like and how your particular grill runs hot or cool. For more ideas to practice on, browse our recipe collection and pick a couple of grill-friendly dishes to repeat until the steps feel automatic.
Grilling rewards patience more than skill. Give the fire time, give the crust time, and let the thermometer settle the arguments. Do that and fish, chicken, and steak all land on the plate the way you hoped.
About the author. The RecipeCrave editorial team, cooks and writers sharing practical, tested home-cooking guidance.
Keep reading
Fermenting at Home for Beginners: Yogurt, Pickles, and More
Fermenting at home is easier than it looks. Here is how simple fermentation works, two beginner projects to start with, the small kit you need, and the safety signs that tell a good batch from a bad one.
Understanding Cooking Oils: Which One to Use and When
Every oil has a job. Some are built for high heat and a crisp crust, others are best kept raw and drizzled at the end. Here is how to match the oil to the pan, store it well and reuse it without the off flavors.
How to Cook Perfect Pasta (and Fix the Common Mistakes)
Great pasta is not about a fancy sauce. It comes down to a handful of simple habits: enough water, proper salt, a taste test for al dente, a cup of saved cooking water, and a sauce finished in the pan rather than poured over the top.