
Article
How to Build a Beautiful Cheese and Snack Board
A practical guide to building a cheese and snack board people remember: how to pick a mix of cheeses, meats, fruit, crackers, and dips, how much to buy per guest, how to arrange it, and how to keep it safe with the 2-hour rule.
7 min readby The RecipeCrave Kitchen Team
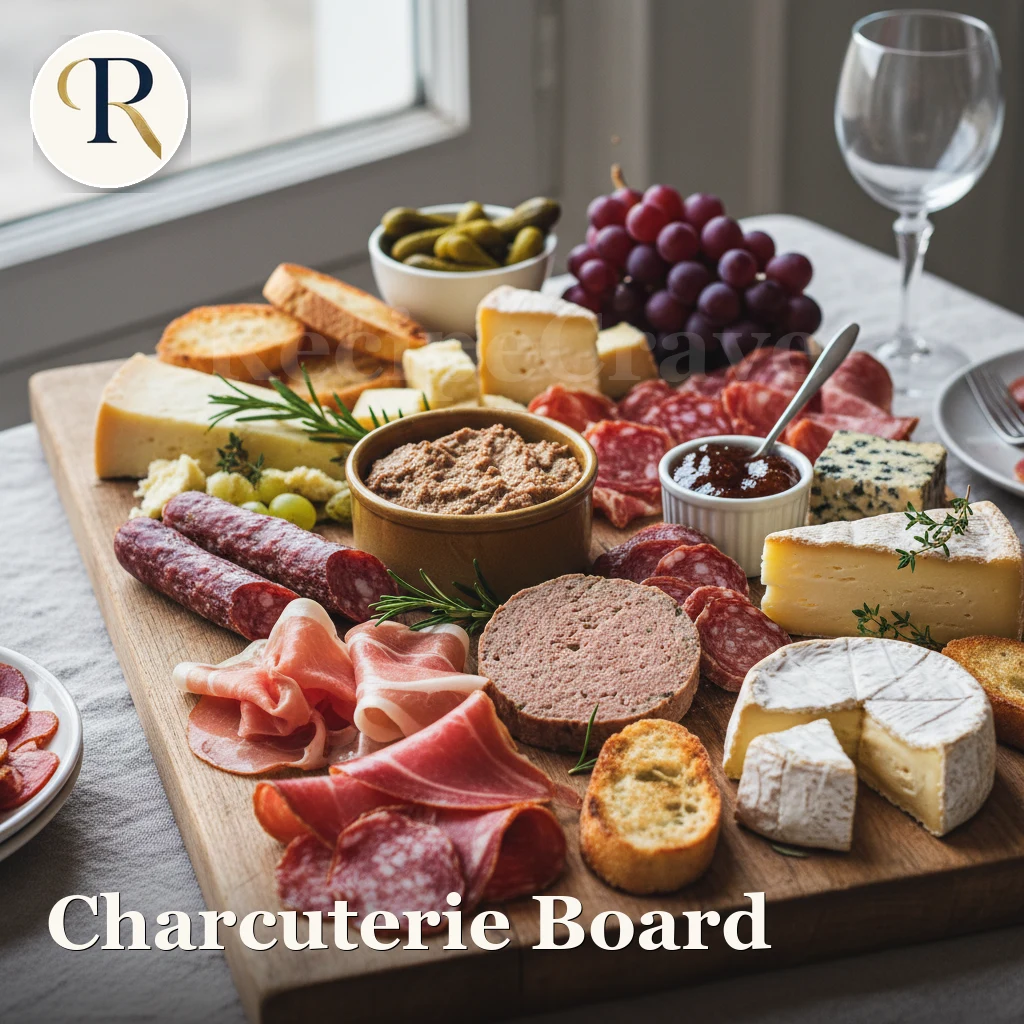
A cheese and snack board looks like it took real skill, but most of the work happens at the shop, not in the kitchen. If you buy a good mix of textures and flavors and give yourself a few minutes to arrange them, you end up with something generous and pretty that feeds a crowd with almost no cooking. This guide walks through what to buy, how much of it, how to lay it out, and how to keep everything safe to eat while it sits out.
Start with a plan, not a shopping cart
Before you buy anything, answer two questions: how many people are you feeding, and is the board a starter or the main event? A board you set out with drinks before dinner needs far less than one that is dinner. Once you know that, the rest is easy math.
As a starter or a nibble alongside other food, plan for about 2 to 3 ounces (60 to 85 grams) of cheese per guest and a similar amount of meat. As the main event, aim higher, around 4 to 5 ounces (115 to 140 grams) of cheese per guest, plus more crackers, fruit, and filler so nobody leaves hungry. Round up a little. Leftover cheese keeps well, and a board that looks full is part of the appeal.
Choose a variety of cheeses
The trick to a board that tastes interesting is contrast. You want your guests to reach for something soft, then something sharp, then something in between. A simple rule is to pick three to five cheeses that differ in texture, strength, and milk type. For most gatherings, three is plenty.
- Something soft and mild. A creamy brie or a fresh goat cheese gives people an easy, crowd-pleasing option to start with.
- Something firm and aged. A wedge of aged cheddar, gouda, or manchego brings a deeper, nutty flavor and holds up well when sliced.
- Something with a bit of edge. A blue cheese or a sharp, tangy option adds a jolt for the guests who want it. Keep it slightly apart so its flavor does not travel to the milder cheeses.
Mixing milk types, cow, goat, and sheep, is an easy way to add range without buying a dozen cheeses. Pull everything out of the fridge about 30 to 45 minutes before serving. Cheese tastes flat when it is cold, and it softens into its best flavor at room temperature. Pre-slice the firm cheeses and leave the soft ones whole with a knife alongside so guests can help themselves.
Add the meats
Cured meats give the board its savory, salty backbone and make it feel like a real spread. Two or three kinds cover most tastes. Thin-sliced prosciutto or serrano is soft and delicate, a salami or a peppered dry sausage is firmer and bolder, and something like sliced coppa sits in the middle. Buy them thinly sliced from the deli counter so they drape and fold nicely.
A folded or loosely ribboned slice looks far better than a flat stack, and it lets guests grab a single piece without dismantling the pile. Fan the salami out like fallen dominoes, and gather the prosciutto into soft, loose ruffles. It takes seconds and instantly makes the board look styled.
Bring in fruit and something fresh
Fruit does two jobs: it breaks up all the rich, salty flavors, and it adds color that makes the whole board pop. Grapes in small clusters, sliced apple or pear, fresh figs, and a handful of berries all work. Dried fruit like apricots or dates fills gaps and pairs especially well with the sharper cheeses.
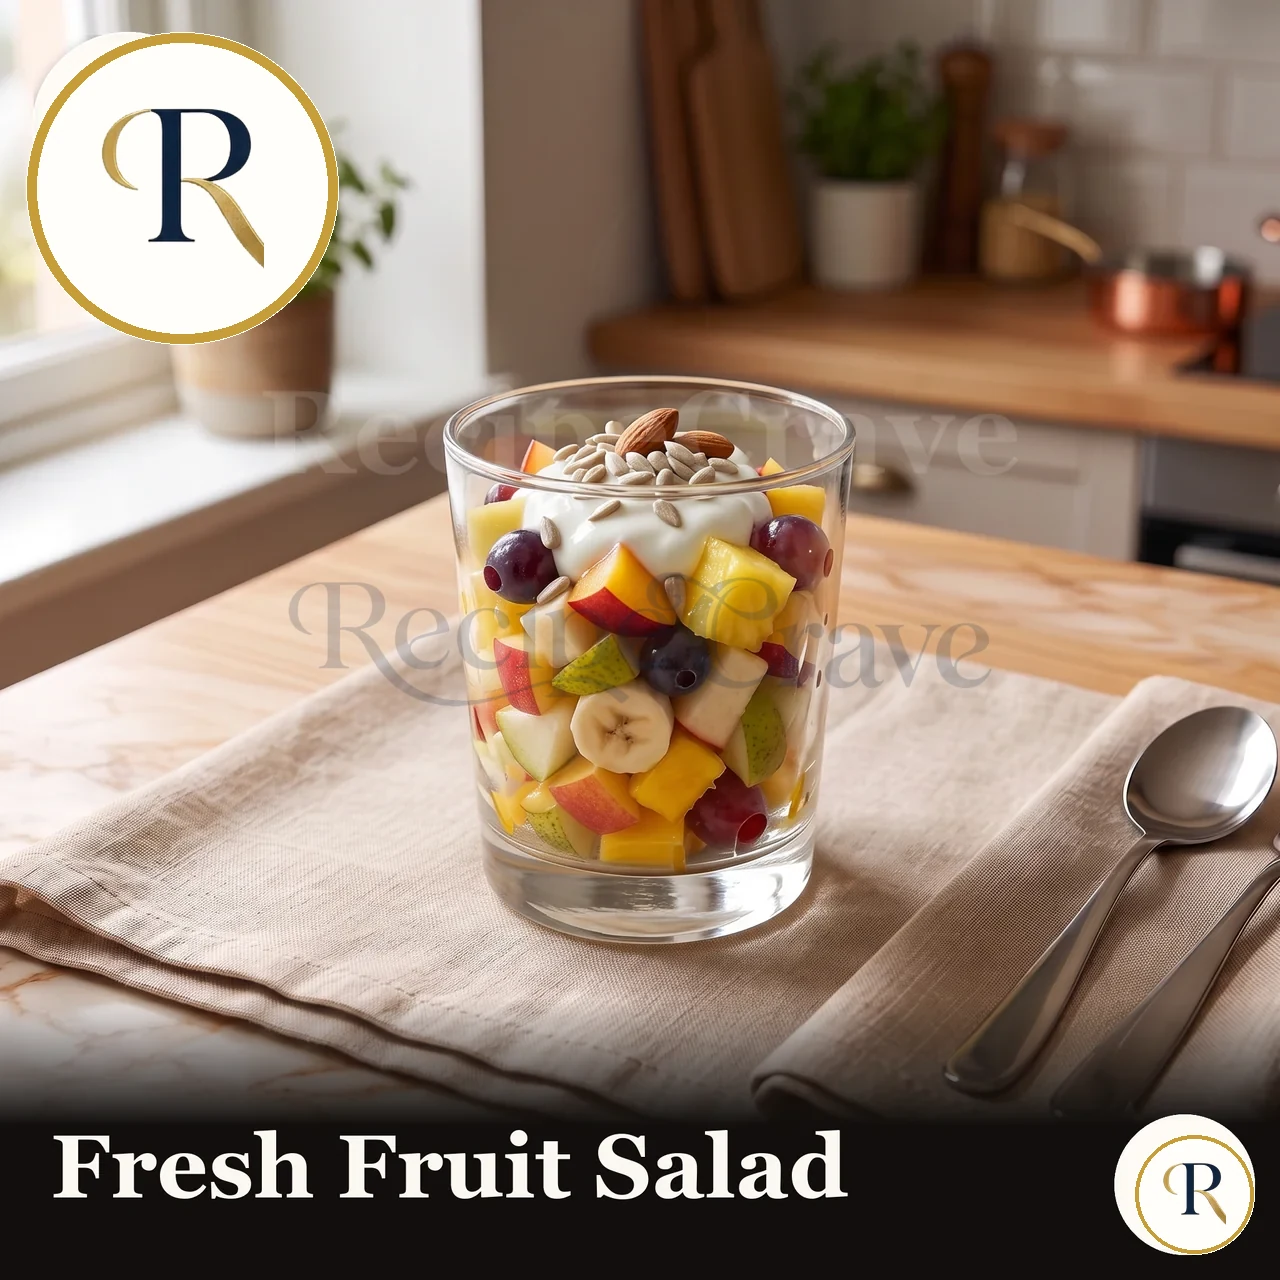
If you want a fresh side that feels a little more finished, a small bowl of fruit salad next to the board is a lovely touch. It gives people a bright, juicy option between the cheese and meat, and the extra color makes the table look more inviting. Cut the fruit into easy, one-bite pieces so it stays neat when guests serve themselves.
Crackers, bread, and the crunch
Every board needs a base for all that cheese, and variety helps here too. Offer a plain, sturdy cracker that lets the cheese lead, plus a seeded or whole-grain one for a bit more flavor. Thin slices of a crusty baguette round things out and give guests something to pile the soft cheeses onto.
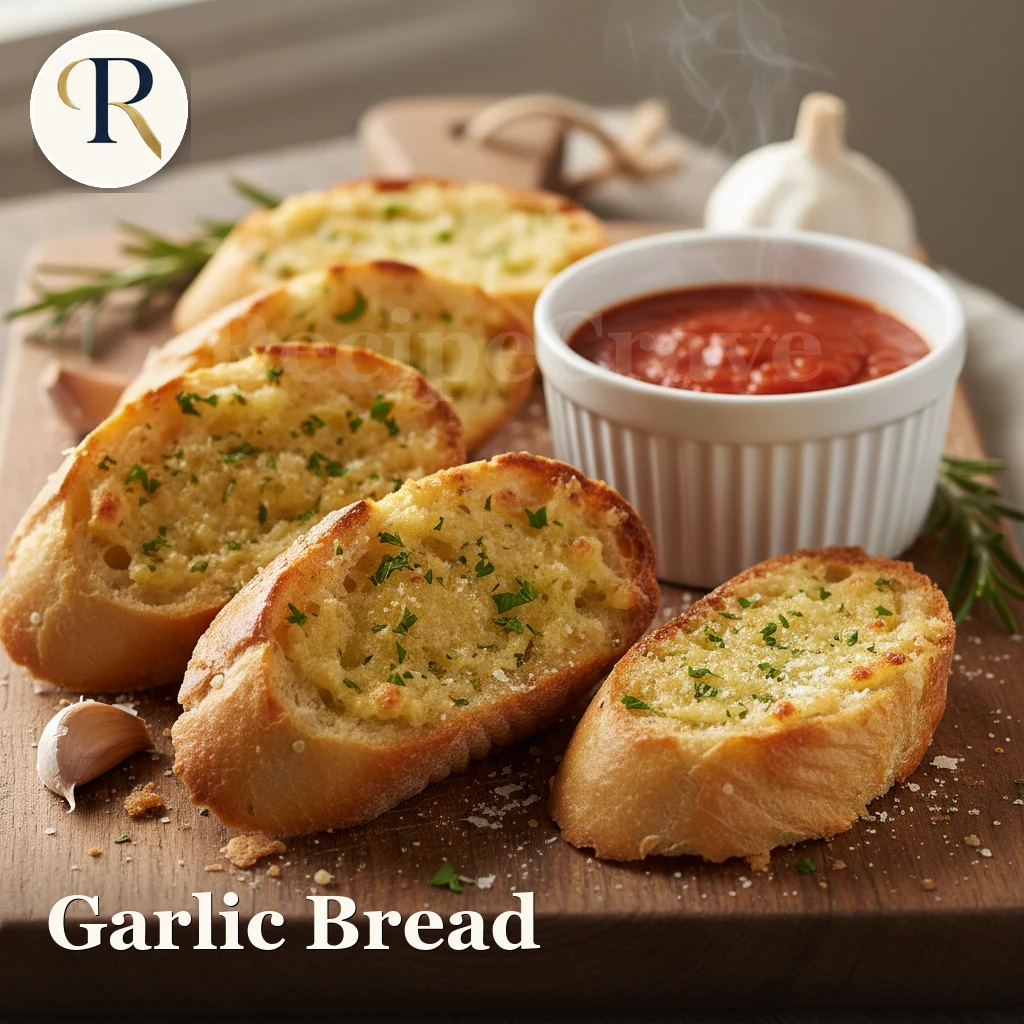
For a board that is doing double duty as dinner, a plate of warm garlic bread on the side turns nibbles into a proper meal. It pairs beautifully with soft brie and with any of the dips, and it gives the whole spread a warm, homey smell that pulls people to the table. Keep the bread and crackers slightly apart from the wet items like fruit and dips so they stay crisp.
Dips, spreads, and the little extras
Small pots of soft, spreadable things tie the board together and fill any empty spots. A spoonful of honey or fig jam next to the sharp cheeses is a classic pairing that guests love. Whole-grain mustard suits the cured meats, and a bowl of hummus or a soft herbed dip gives the crackers and bread a home.
Then come the finishing touches that make a board look full and considered: a handful of olives, some toasted almonds or walnuts, a few cornichons or pickles, and a scatter of fresh herbs. These extras cost little, fill gaps, and add the small pops of salt and crunch that keep people grazing.
Arrange it so it looks generous
Good arranging is mostly about filling space and creating little pockets of color. Work in a simple order:
- Place the bowls first. Set your dips, honey, and olives in their small bowls around the board. They anchor the layout, and you build everything else around them.
- Add the cheeses next. Space them out rather than lining them up, so guests move around the whole board instead of crowding one corner.
- Fan the meats into the gaps. Drape and fold them near the cheeses they pair with.
- Fill with fruit, crackers, and extras. Tuck grapes, berries, nuts, and crackers into every open space until there are no bare patches. A full board always looks more inviting than a sparse one.
Vary the heights and shapes, some things stacked, some fanned, some in bowls, and let a few grapes or herbs spill over the edges. That slightly loose, overflowing look is what makes a board feel abundant. A wooden board, a large platter, or even a lined baking tray all work as the base.
What you can make ahead
Almost all of a board can be prepped in advance, which is why it is such a friendly thing to serve. Up to a day ahead, you can slice the firm cheeses, wash and dry the fruit, portion the nuts and olives into their bowls, and make any dips. Store each thing in its own covered container in the fridge.
Keep a couple of jobs for the last hour. Slice soft or juicy fruit like apples and pears close to serving so they do not brown, and warm the garlic bread just before guests arrive. Pull the cheeses and meats out of the fridge 30 to 45 minutes ahead so they reach room temperature. If you are hosting a bigger group, keep a backup plate of extra cheese and crackers in the fridge and refill the board as it empties, rather than piling everything out at once.
Food safety and the 2-hour rule
A board is meant to sit out and be grazed, so a little care keeps it safe. The key guideline is the 2-hour rule: cheese, cured meat, and anything else that should be kept cool should not stay at room temperature for more than two hours. On a hot day above about 90 degrees Fahrenheit (32 degrees Celsius), cut that to one hour.
A few simple habits make this easy to manage:
- Serve on smaller boards and refill from the fridge, so any single item spends less time out.
- Nest bowls of soft cheese or dip inside a larger bowl of ice if the board will be out a while.
- Once the two hours are up, refrigerate what still looks and smells fresh, and throw away anything that has been sitting warm for longer.
- Keep raw and ready-to-eat foods separate, and use clean utensils for serving.
None of this takes real effort, and it means your guests can relax and graze without a second thought.
A quick shopping checklist
Pulling it all together, here is a simple list to shop from for a board that serves six to eight as a starter:
- Three cheeses: one soft, one firm and aged, one with an edge.
- Two or three cured meats, thinly sliced.
- Fresh fruit like grapes, berries, and sliced pear, plus a little dried fruit.
- Two kinds of cracker and a crusty baguette or garlic bread.
- A sweet spread such as honey or fig jam, and a savory one like mustard or hummus.
- Extras: olives, nuts, pickles, and fresh herbs to fill and finish.
Buy a good mix, give yourself ten minutes to arrange it, and mind the clock once it is out. That is the whole secret to a cheese and snack board that looks like a lot more work than it was.
About the author. The RecipeCrave editorial team, cooks and writers sharing practical, tested home-cooking guidance.
Keep reading
A Beginner's Guide to Grilling Fish, Chicken, and Steak
Grilling looks intimidating from the outside, but almost all of it comes down to a few habits: build heat zones, oil a hot grate, flip once, and learn doneness by feel and temperature. Here is the beginner version, step by step.
Fermenting at Home for Beginners: Yogurt, Pickles, and More
Fermenting at home is easier than it looks. Here is how simple fermentation works, two beginner projects to start with, the small kit you need, and the safety signs that tell a good batch from a bad one.
Understanding Cooking Oils: Which One to Use and When
Every oil has a job. Some are built for high heat and a crisp crust, others are best kept raw and drizzled at the end. Here is how to match the oil to the pan, store it well and reuse it without the off flavors.